Creating resources
Resources can be created manually or by importing them from a file. If you are planning to import your resources from a file, see Importing resources from a file. Otherwise, continue with the following steps:
To create a resource
- From any page in the Resources module, click New Resource from the navigation bar.
-
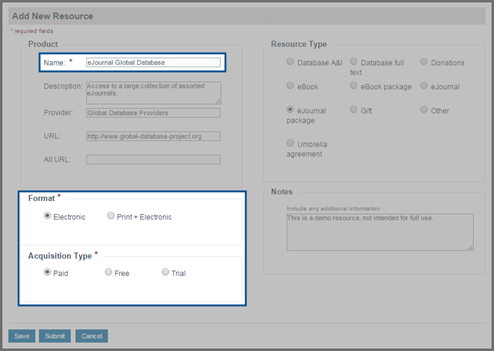
Type a name for the resource into the Name field, then select a Format, Acquisition Type, and Resource Type for this resource.
Note: For more information about the fields that you encounter while creating resources, see Fields: Add New Resource.
- Fill out the rest of the fields, as necessary.
-
If you still have additional information to gather for these fields before creating the resource, click Save. Saving an incomplete resource creates a saved request that must be completed and submitted before a new resource is created.
Note: Saved requests can be accessed in the Saved Requests tab on the My Queue page. For more information, see Completing saved requests.
-
If you want to submit this resource and begin its workflow, click Submit.
Note: Once you have submitted a resource, you can track its progress in the Submitted Requests tab on the My Queue page. Submitted resources also display in the resources list on the Home page with a status of In Progress.
Thanks for your feedback!